Arp Sequence Parameters
Velocity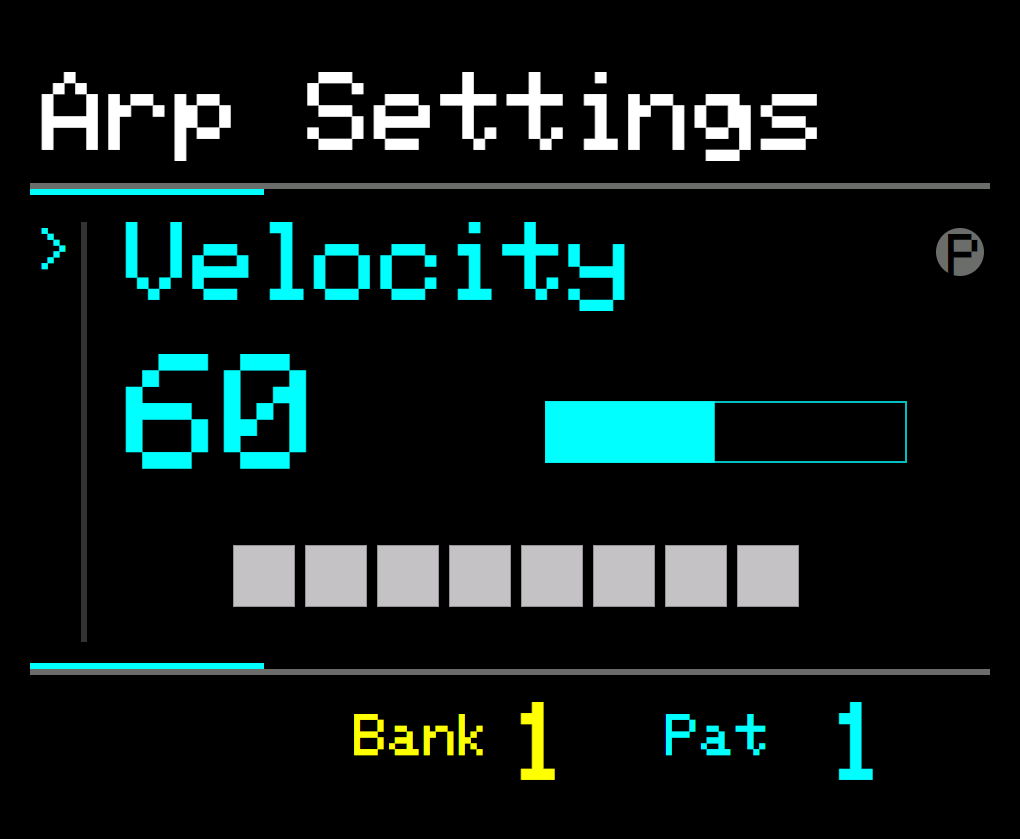 

The Velocity parameter controls how loud the individual arpeggiator sounds. Useful in balancing the volume of multiple arpeggiators.
Values: 0 to 127
Velocity supports Binary Patterns via the PROGRAM button.
Gate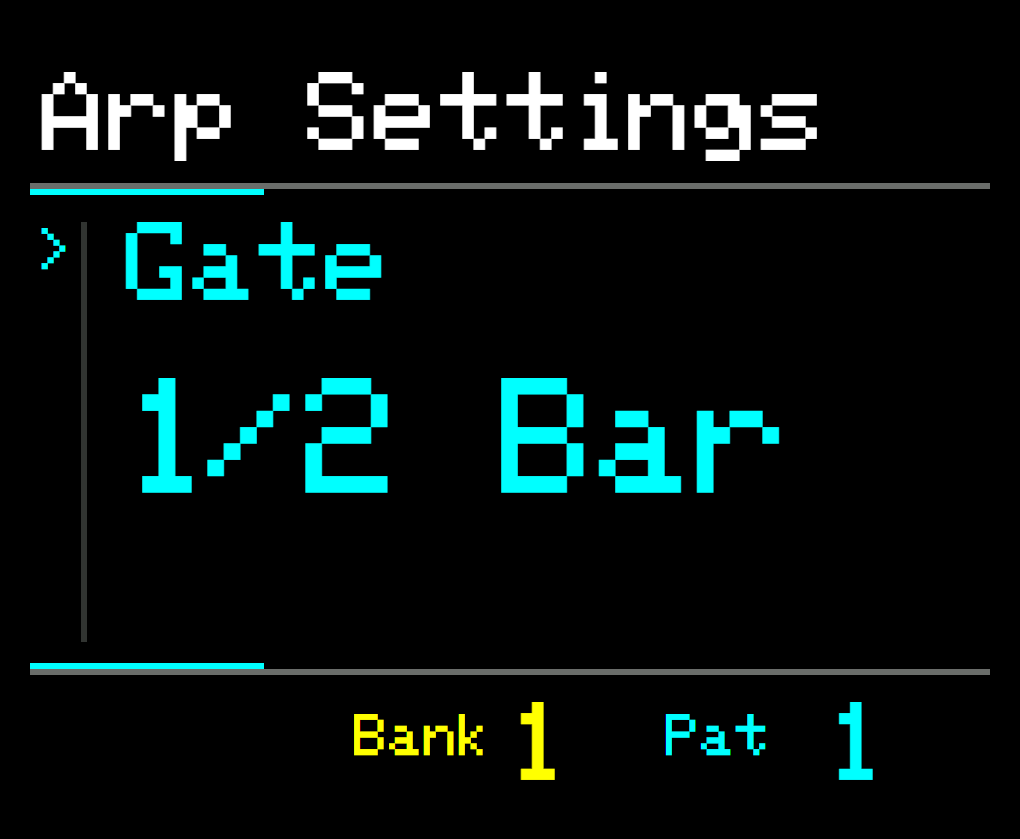 

Sets the release time for all notes on the selected arpeggiator.
Lower values will give short “staccato” sounds and higher values will allow longer “sustained” sounds that can fade over time.
Values: 1 Tick to 256 Bars
Octave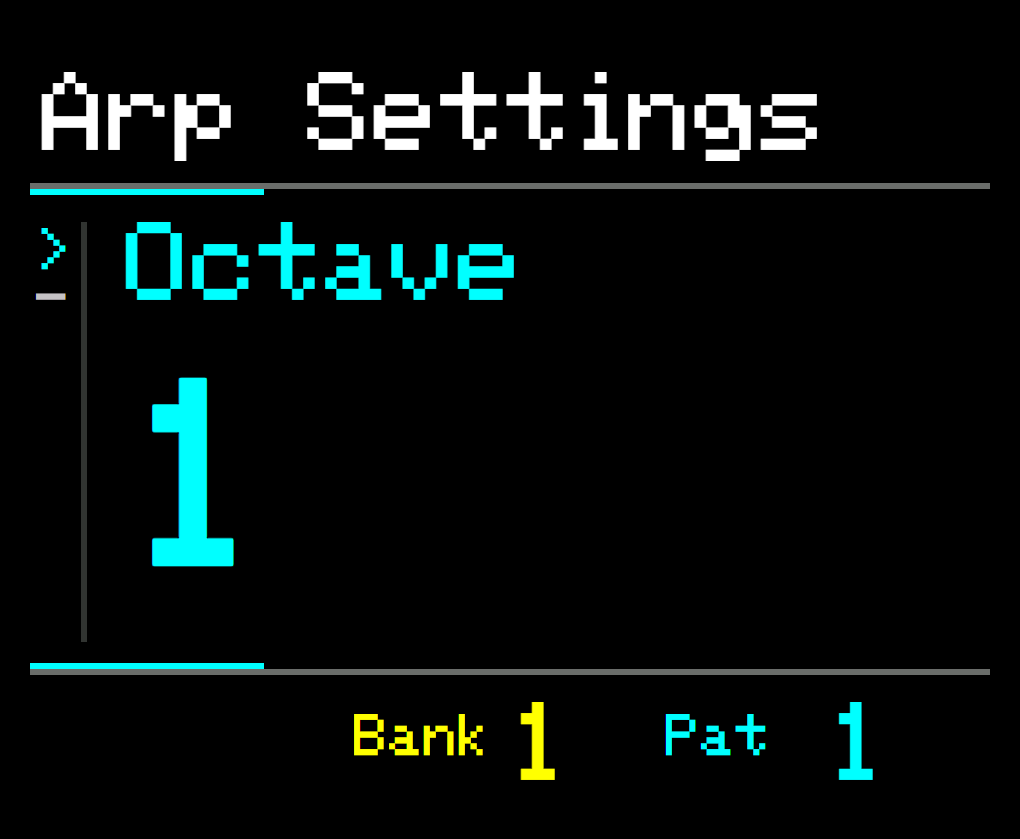 

Modifies the octave of the selected arpeggiators.
Changing the octave up or down can be a useful way to quickly change the pitch and intensity of a playing sequence without changing the melodic pattern.
Values: -3 to +3 (default 0)
Note that the Octave parameter value is relative to the Global Octave.
e.g. If the Global Octave is set to 3, and the Octave parameter for the arp is set to 1, a chord of C major will play the notes C4, E4, G4.
Octave Layers
The Octave Layer parameter creates up to 2 additional notes at octave intervals above each arpeggio note. This can be used to create bigger sounds from polyphonic synths/instruments.
For more information, see: Note Layers
Octave Lock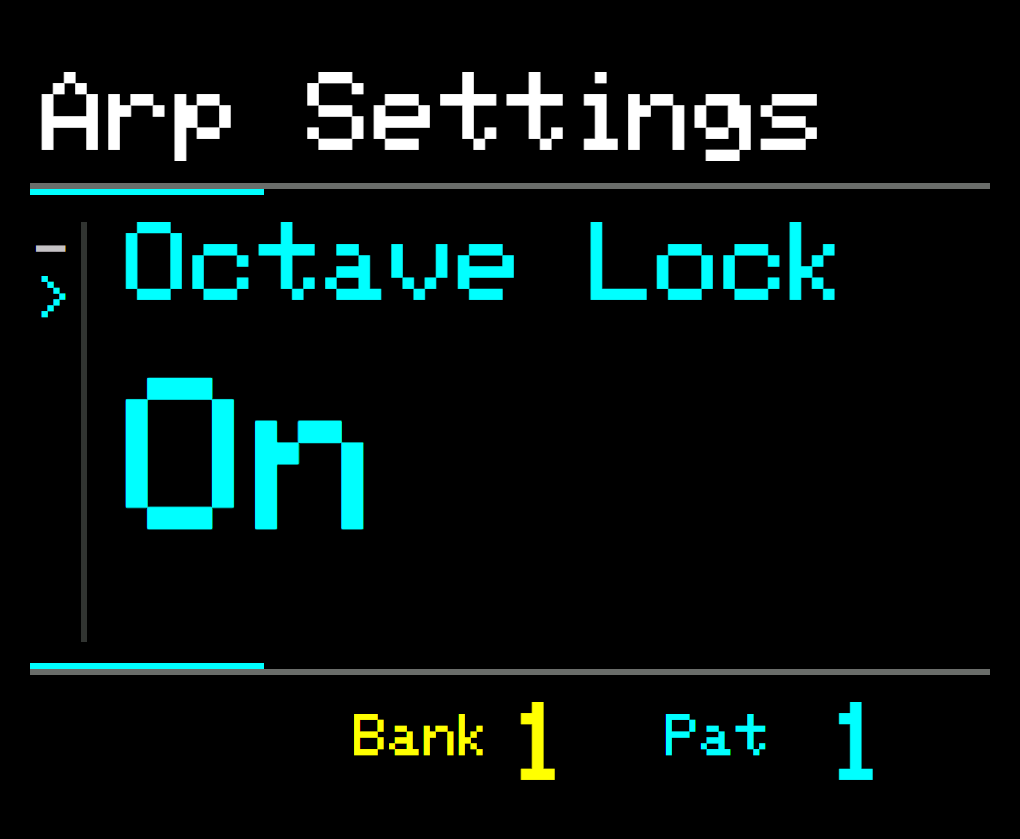 

Pressing the OCTAVE button again will select Octave Lock.
When enabled, the selected octave of the individual arp will not be affected by changes to the global octave or by external sync notes. e.g. If Octave Lock is set to ON, notes played on an external MIDI keyboard will be transposed to the locked octave.

Note
Press the note button to select the note-related parameters (listed below). Pressing the button repeatedly will toggle through each of the note parameters.
You can also hold the Note button and use the Up and Down buttons to select parameters.
Note Offset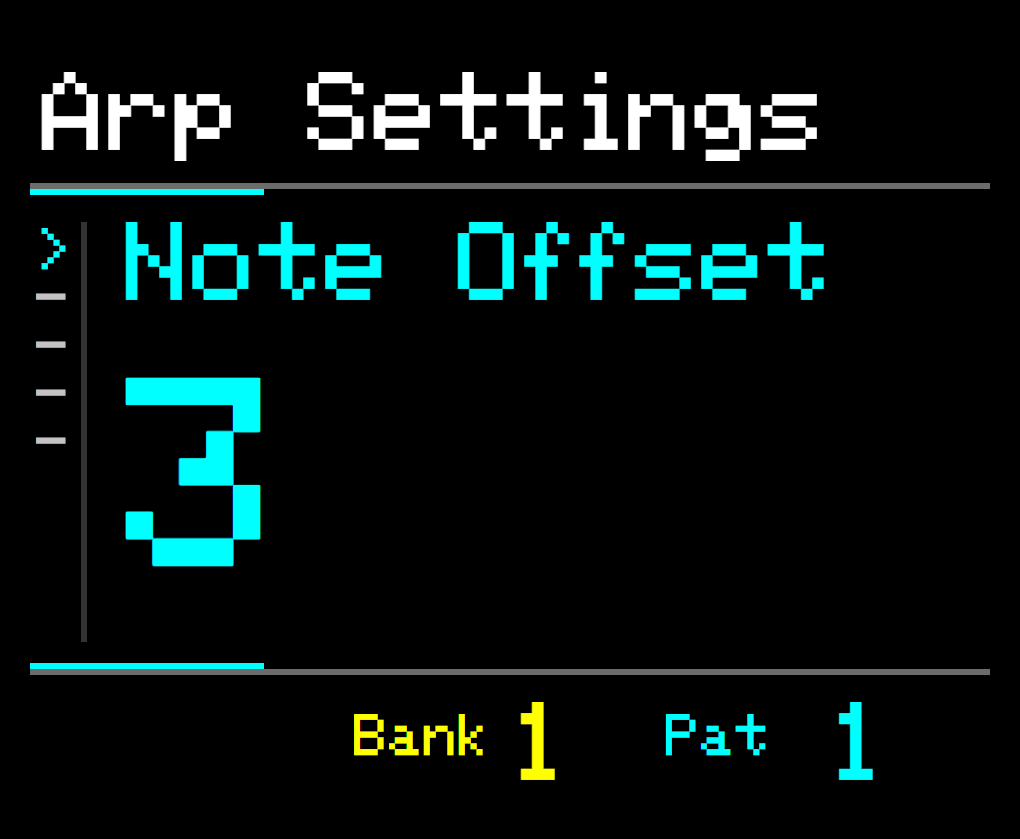 

Offsets the currently playing notes by an interval determined by the Offset Mode below.
This is intended for use in combination with the other arpeggiators and the SCALE Mode to build harmonies. Imagine using two arpeggiators playing an identical sequence but the 2nd being offset by 5 notes. Working in this way offers very precise control over musical notes in your sequence.
Offset Mode
Controls how the Note offset is applied during playback.
In the default SCALE mode, the offset equates to the note intervals of the current chord or scale.
e.g, If the current note/chord is C Major, an offset of +1 will move the root note from C to E.
Changing to CHROMATIC mode, the offset equates to individual semi-tones. As such it is not limited to the current chord or scale.
e.g, If the current note is C, an offset of +1 will move the root note from C to C#, regardless of the chord or scale.
Note Layers
The Note Layers parameter enables you to create chord arpeggios by adding notes above each arpeggio note.
Layered notes are applied sequentially from the current chord/scale. e.g. Given a Layer value of 4, if the Chord is set to Maj and note C3 is generated, then notes E3, G3, & C4 will be layered.
Add up to 4 note layers that include the root note, plus additional notes taken from the current chord/scale to stay in key.
-
Layers only function in Arp Mode
-
Layers are ignored in Classic Arpeggiation Mode
-
Layers are suppressed in MONO Voice Mode
-
Note and Octave Layers can be combined
-
Both Layer types can be targeted by Modulation and FX
-
Be warned that adding Layers to very fast arpeggios can produce a significant amount of MIDI data which could lead to MIDI lag and glitches.
TIP: Create a complex arpeggio, then increase layers to fill the musical space. Try modulating the Layer parameters for dynamic results.
Note Limit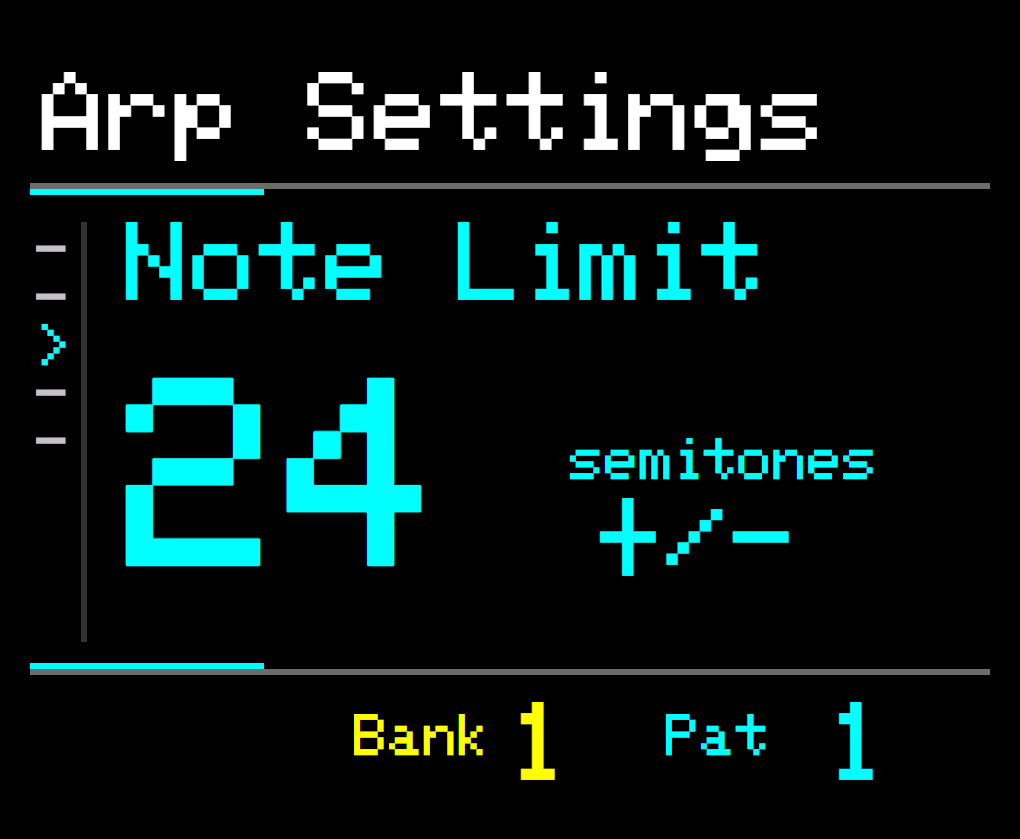 

Sets a maximum range to the number of semitones that a sequence note can be played (away from the root note). Up to ± 48 semitones.
When Note Limit is set, any note in the sequence that falls outside of the range will be played at the furthest position that semitone can be played within the range.
e.g. If the limit is set to 24 semitones and the root note
is C3: if a B5 is then demanded by the sequence, a B4 would be played in its place.
This behaviour is useful in 2 ways: -
-
When using an external keyboard, if you press a single key, the scale would be a single note, as such the sequence may trigger a single note at rising or falling octaves, depending on the settings. This might result in undesirable effects, Note Limit can help prevent this behaviour.
-
Used creatively, particularly with Modulation, it can be used to create interesting variations in a sequence.
Set to Off to disable.
Note Lock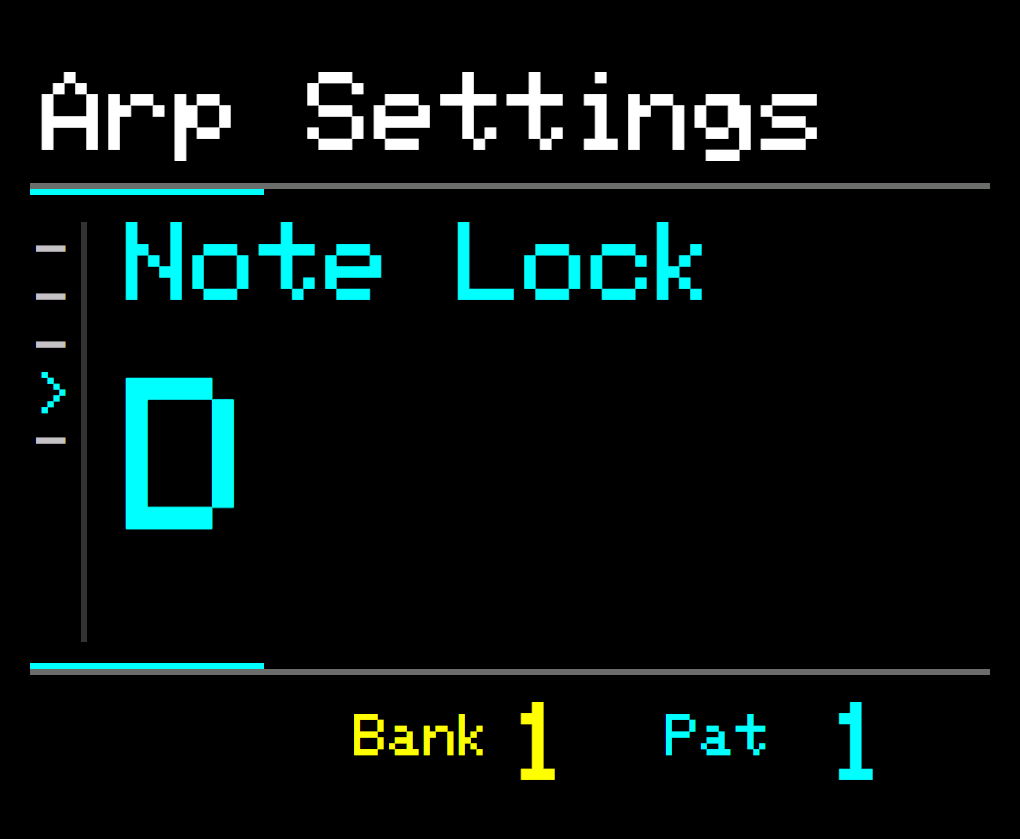 

Allows you to fix the selected arpeggiator to a specific root note. It prevents the root note from being changed, either via the note buttons or external MIDI Note input.
Select one of the 12 semitones, C through to B.
Locking the root note can be useful for creating, for example, a continuous drone, or static melody, or if you are triggering fixed-note percussion instruments or samples.

Scale Lock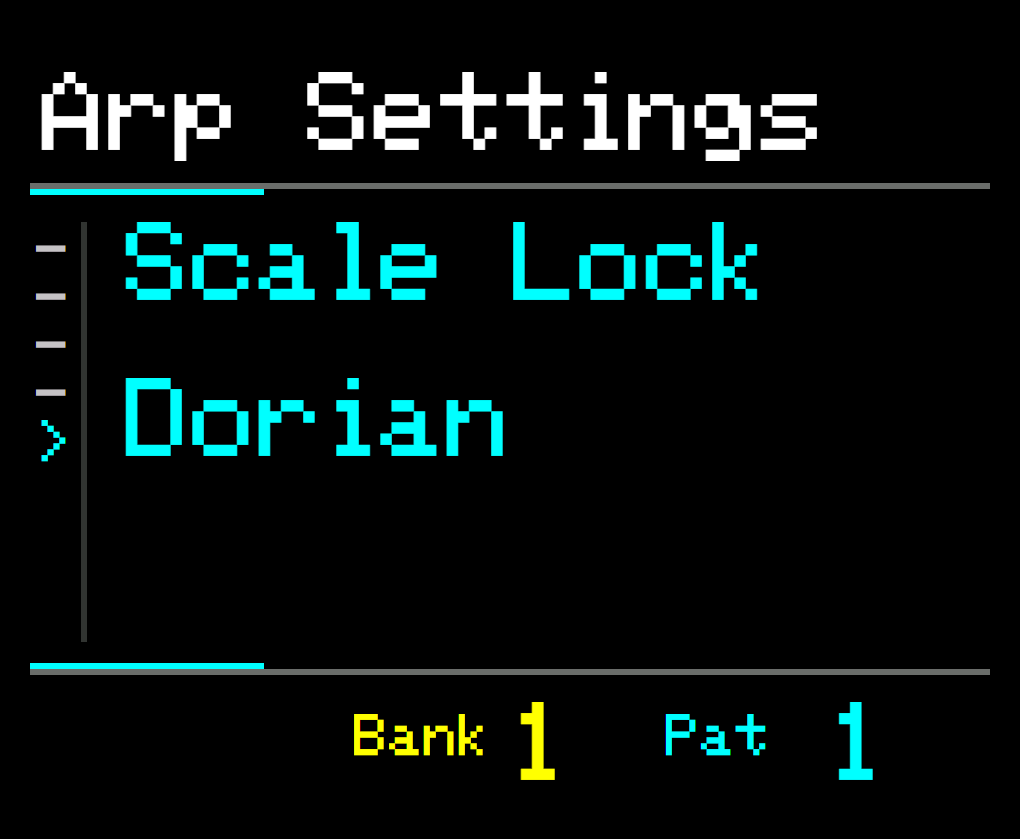 

Allows you to fix the chord/scale of the arpeggiator, preventing the active chord from affecting the sequence. Simply select one of the in-built chords or scales.
As with Key Lock, above, this can be used creatively or to ensure that fixed-note instruments such as samplers do not change when you change the chord externally.
Setting both Key Lock and Scale Lock together effectively disengages the selected arpeggiator from any input notes and note sync.
Combined with bounce and rhythm patterns you can create drum beats or melodies that remain static as you play different notes and chords. In combination with the other arpeggiators that are synced to the played chords, this can create some very interesting, and perhaps highly discordant, effects.

Time
ARP has a unique and innovative way of controlling musical timing and rhythm.
It skips standard music terminology to enable exploration way beyond the conventional.
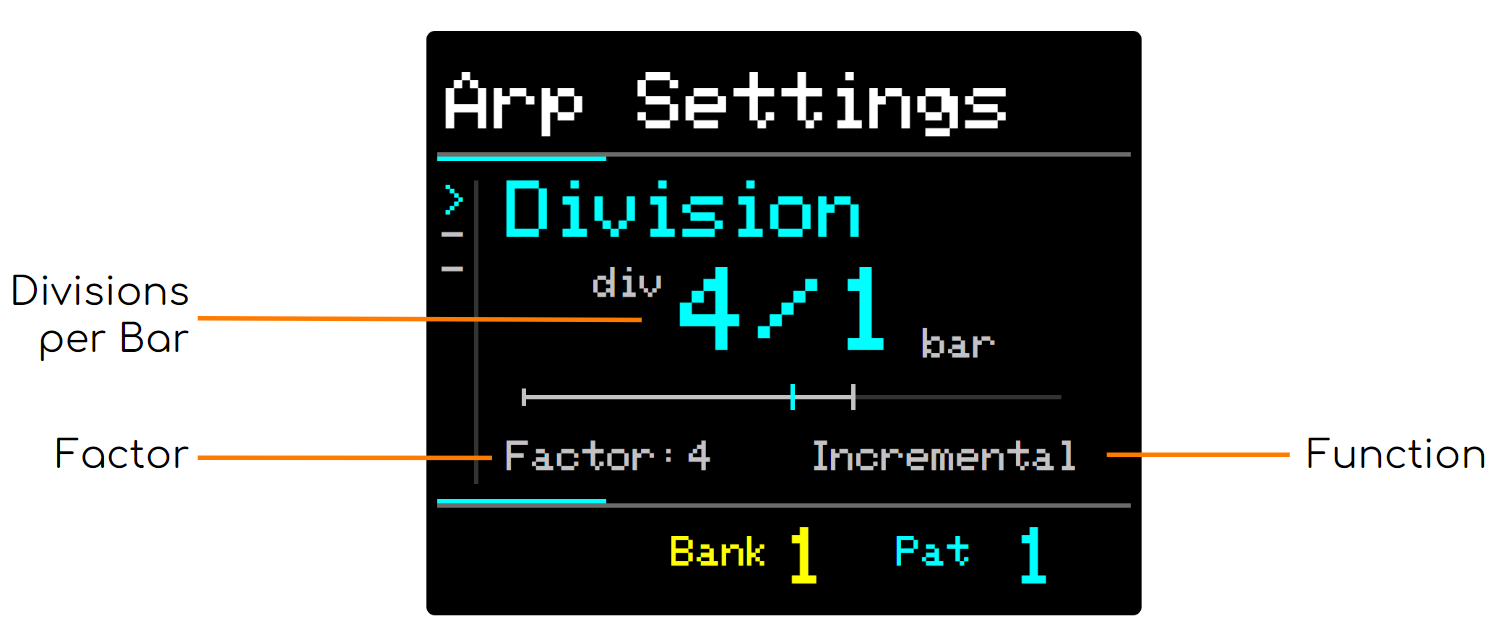
ARP can divide any number of bars by any number of divisions using 3 parameters.

Time Division
Sets the number of divisions per bar. Each division is a sequencer step.
e.g. 4/1 will play 4 steps in 1 MIDI bar

Time Factor
Sets the base number for the divisions. This is just a way to set how the Time Division behaves when you change it.
e.g. Factor 3 will divide the bar in multiples of 3
Time Function
Sets how the divisions increase or decrease as the Division value changes.
-
Incremental, the factor is added or subtracted
-
Exponential, the factor is doubled or halved
Example 1 - With a Factor of 3 and Incremental Function
- Increasing Division will result in 3/1, 6/1, 9/1, 12/1 etc.
- Decreasing will result in 3/1, 3/2, 1/1 (3/3), ¾ etc.
Example 2 - With a Factor of 3 and Exponential Function
- Increasing Division will result in 3/1, 6/1, 12/1, 24/1 etc.
- Decreasing will result in 3/1, 3/2, ¾, ⅜ etc.
For more information on Time Parameters, how they interact and how they can be used during a performance, see: Appendix III - Time Parameters
Steps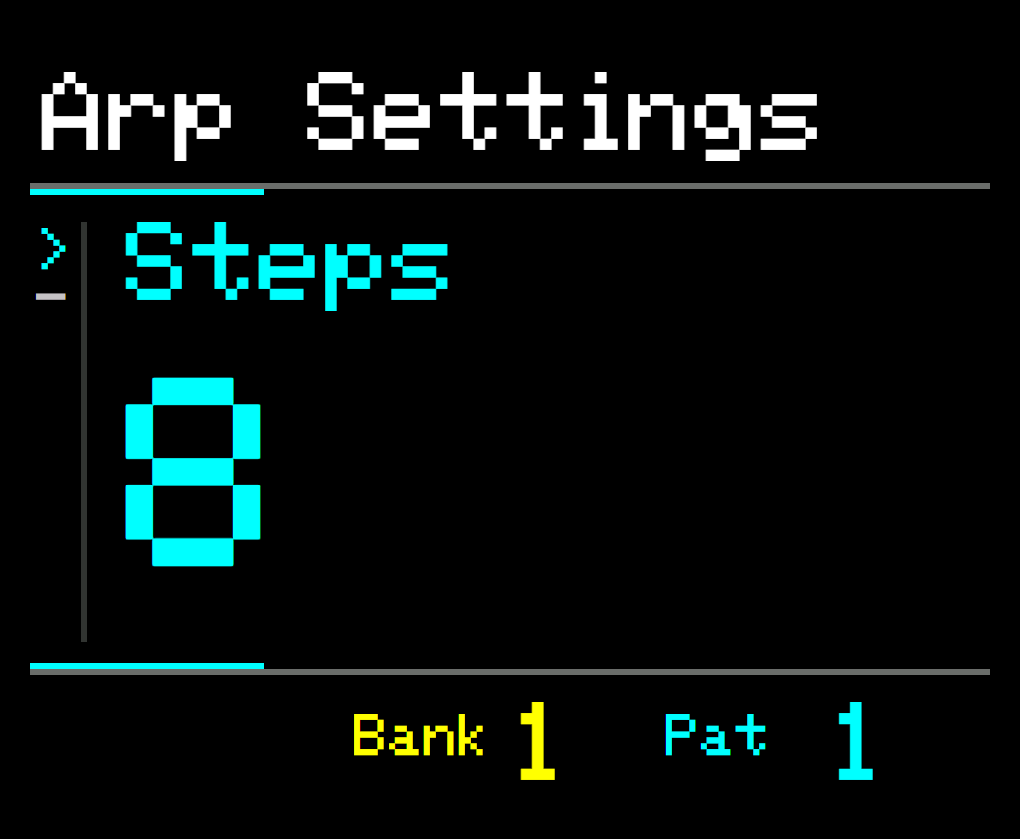 

Determines the number of steps used in creating the sequence of notes to be played. The Sequence is repeated.
e.g. Given the C Maj chord (C, E, G)
-
A value of 1 will produce a sequence [C3] which would repeat as => C3, C3, C3, C3… etc.
-
A value of 8 might produce a sequence [C3, E3, G3, C4, E4, G4, C5, E5], depending on other parameters such as direction and repeats.
The maximum sequence length is 16. Notes that fall outside the range C0 to B6 will not be heard.
Pitch Filter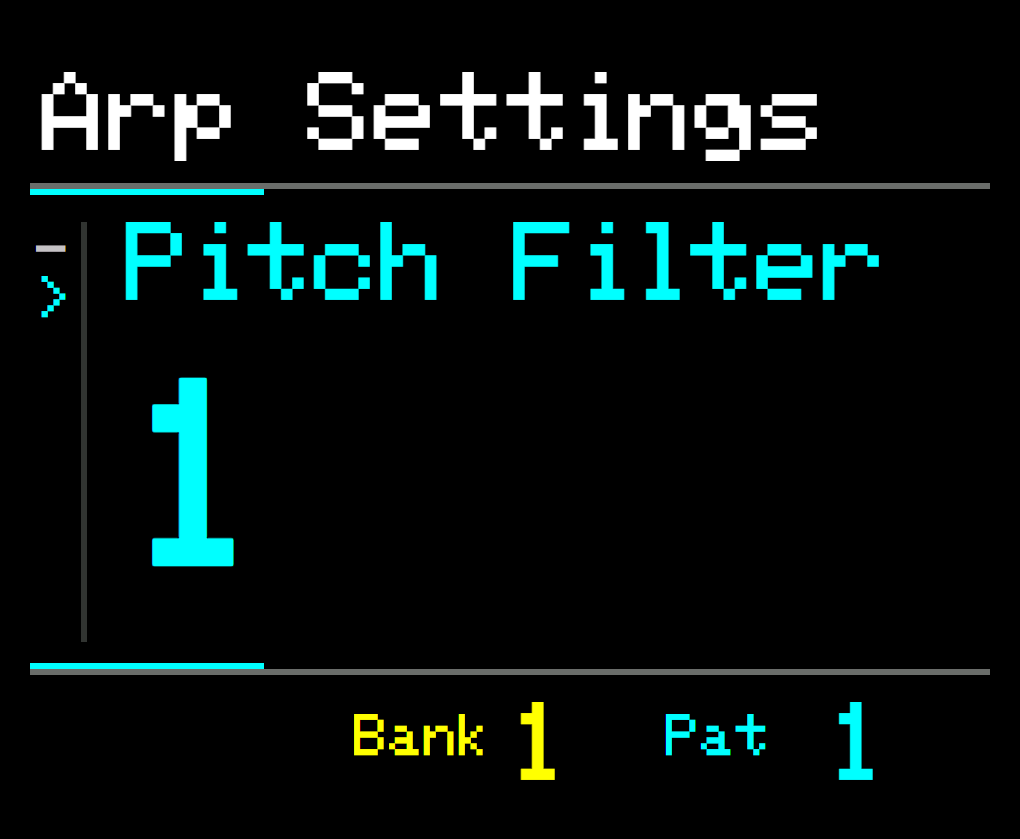 

Limits the note pitches, taken from the active chord or scale, such that only the first few notes from the scale are used for the arpeggio sequences. Its purpose is in making simpler melody patterns from just a small number of notes when there are many notes that make up the scale.
For example: If the chord/scale is C Major7, the notes C, E, G, & B will be available to the sequence. If we set Pitch Filter to 2, then this limits the available notes to C & E.
This gives us the ability to create more stable basslines and melodies, that do not wander too far from a theme when playing more complex chords.
Combining Pitch Filter with Jump and Note Limit parameters can create some very interesting results.
For example: Given the C Major7 chord, a Filter of 2 and Jump of 2 would limit the available notes to C & G. Interesting huh?
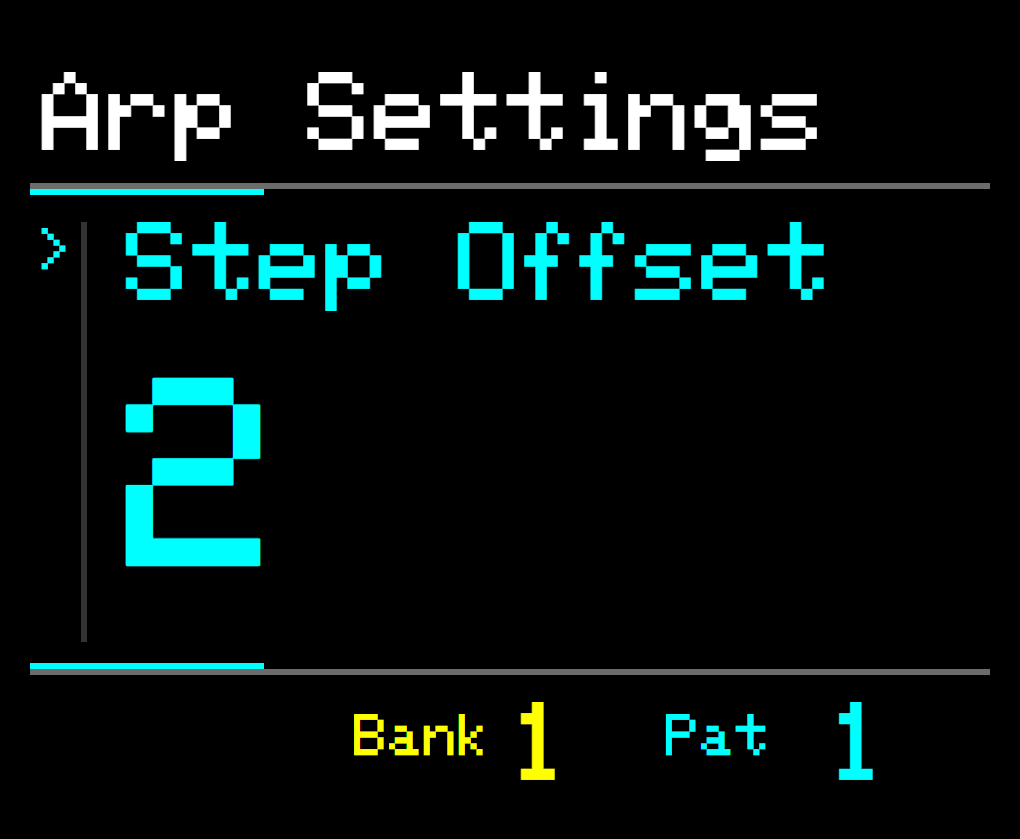
Offset
The Step Offset can be used to shift the sequence (up to 12 steps) to start in a different position.
Given the sequence from above [C3, E3, G3, C4, E4, G4, C5, E5]…
… an offset of 2 will create the sequence [G3, C4, E4, G4, C5, E5, C3, E3]
This enables a “round” to be created when combined with another arp.
Note: Step Offset is similar to Note Offset but with a key difference.
Step Offset is limited by the number of steps in the sequence, where Note Offset is not, e.g. if you have a Steps value of 4, the 5th offset will be applied to the 1st step. However, with Note Offset, the 5th offset will be 5 intervals above the 1st step, no matter the number of steps.
Direction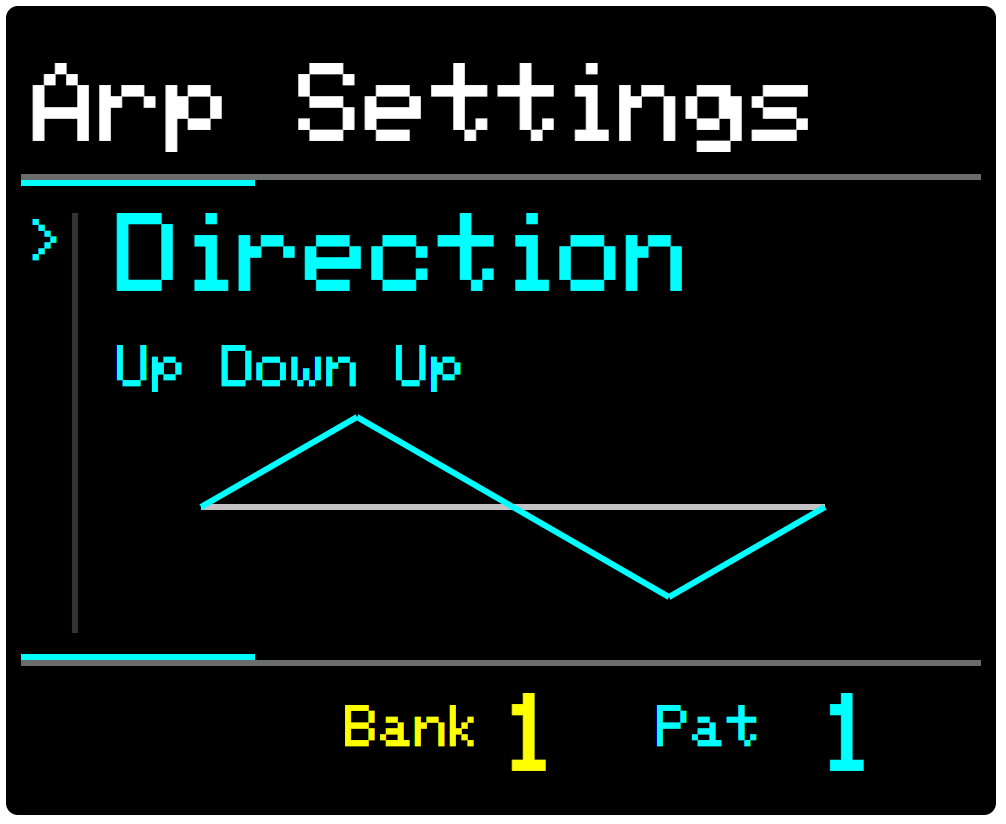 

This sets the direction in which the sequence is travelled during playback.
-
Up
-
[C3, E3, G3, C4, E4, G4, C5, E5]
-
-
Down
-
[C3, G2, E2, C2, G1, E1, C1, G0]
-
-
UpDown - changes from up to down mid-way through the sequence
-
[C3, E3, G3, C4, E3, C4 G3, E3 ]
-
-
DownUp - changes down to up mid-way
-
[C3, G2, E2, C2, G1, E1, C1, G0]
-
-
UpDownUp - changes up to down quarter past and back to up at quarter to
-
[C3, E3, C3, G2, E2, C2, E2, G2 ]
-
-
DownUpDown - opposite of above
-
[C3, G2, C3, E3, G3, C4, G3, E3]
-

Delay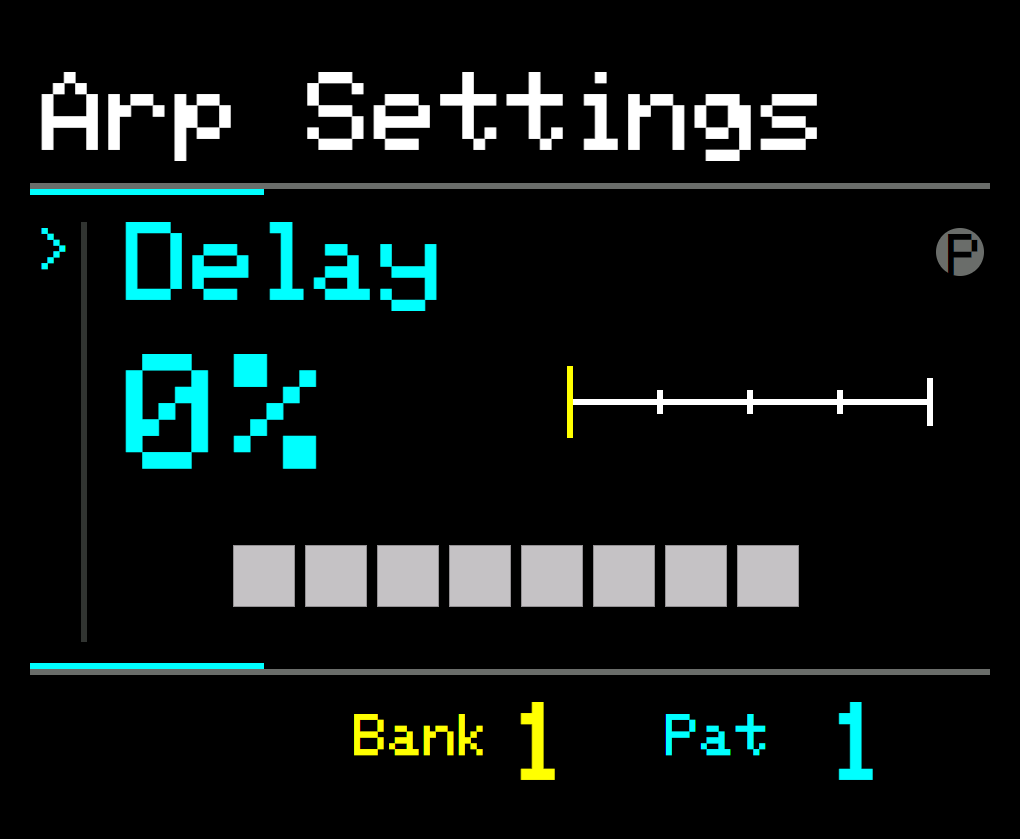 

Delay pushes the MIDI notes forward in time, delaying all the notes for the selected arpeggiator.
It is useful when combined with another arp playing a similar pattern to create a classic delay/echo effect. It can also be used to create off-beat patterns.
The delay value represents a percentage time difference to the next step so the delay time changes depending on the Time Division value.
Delay supports Binary Patterns via the PROGRAM button.
Bounce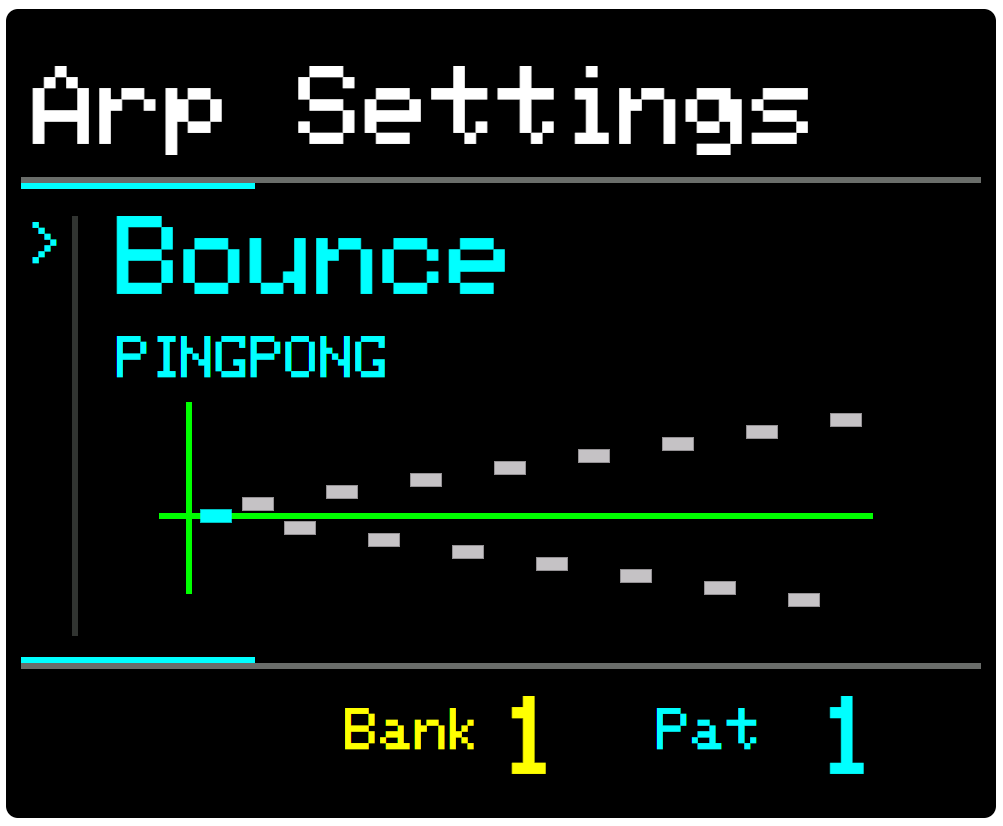 

Controls the order in which notes in the sequence are played. E.g. Where Direction controls the next note in the sequence, Bounce creates a more interesting movement through the sequence.
Tip. Try it with a Chromatic Scale and simple Up or Down directions to get started.
Custom Bounce Patterns
There are 9 default and 20 custom bounces. These patterns are shared between all banks and patches.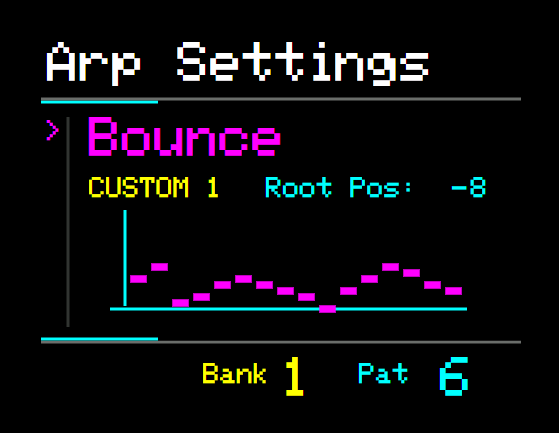

Press program to select the first custom pattern or, if a custom pattern is already selected, to begin editing.
Rotate the KNOB control to select the step and use the Up/Down buttons to change the value.
The value is the number of steps in the scale away from the root note of the current chord.
Rotate all the way to the left to select the Root position and use Up/Down to change the position.
The Root position represents the root note of the sequence and all steps in the bounce pattern are relative to it.
For example, if the root position is set to the lowest value, all individual steps in the bounce pattern will be on or higher than the root note.
Jump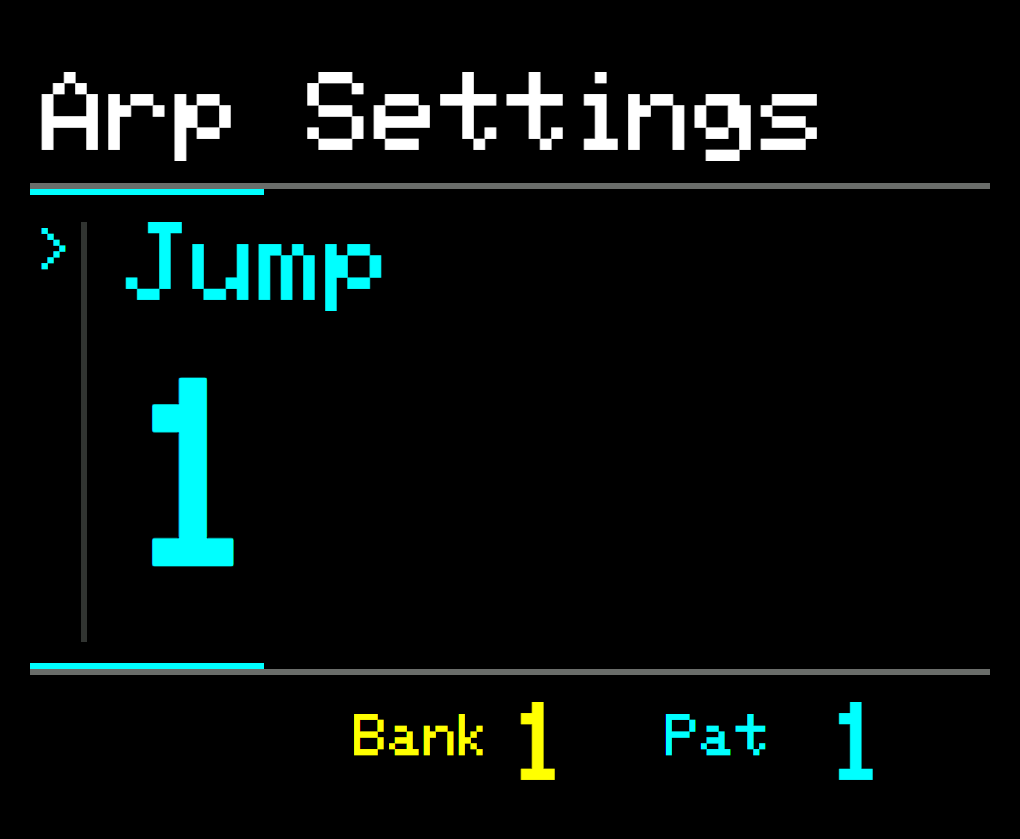 

Sets the interval between the selected notes used in the sequence.
A value of 1 will select every note in the scale or chord when creating the sequence.
A value of 2 will skip every other note.
The maximum value of 12, can easily take you out of the note range C0 to B6. So larger values are only really beneficial for fine control of the chromatic scale.
Combining Jump with Directions and Bounce parameters can create interest.
Repeat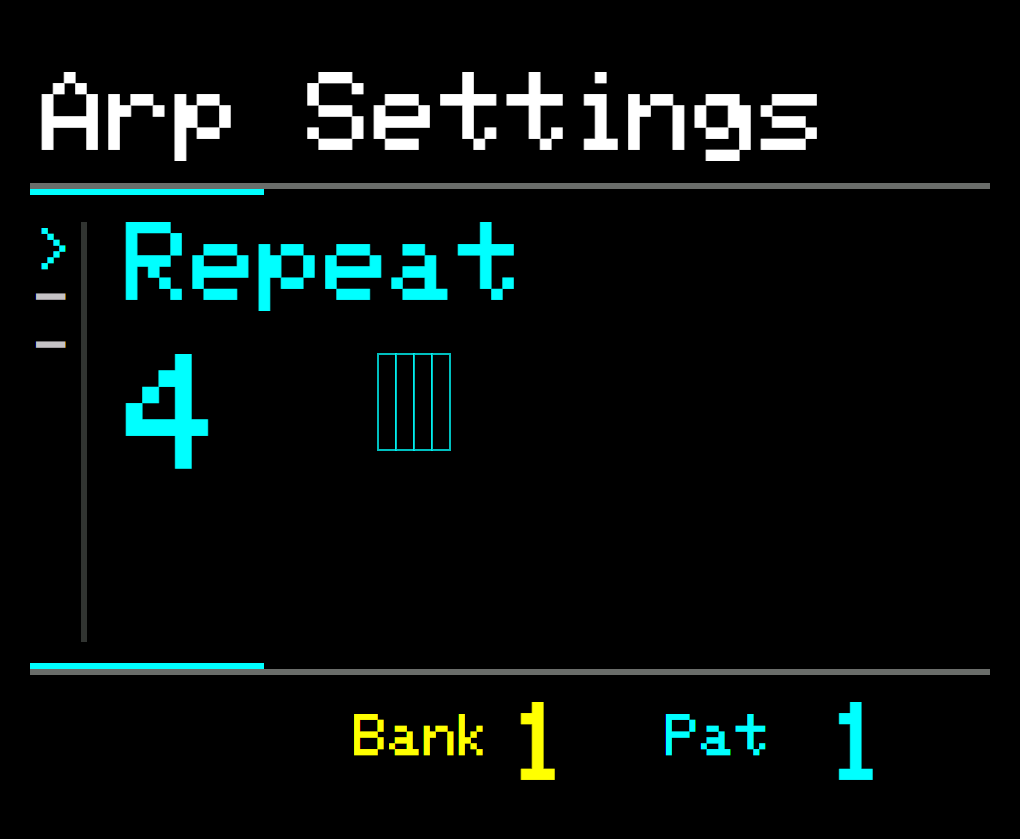 

Sets the number of times each note in the sequence repeats before the next note is played. The default repeat is 1 and this will play each note in the sequence just once. You can set up to 32 repeats for each note.
This parameter is good for bouncing basslines or long pads that retrigger often but change note only after every nth step.
For example. A 4 steps rising sequence, played over two bars it might look like this:

Setting Repeat to 2 would repeat each step, like this:

It is still a 4 step sequence, but each note is played twice.
Tip. Repeat can also be used to create polyrhythmic and sequence phasing effects by using different repeats on different arpeggiator sequences. As an example, the two sequences above, played together, would be in an out of phase every 2 bars but far more complex phasing can be achieved.
Chop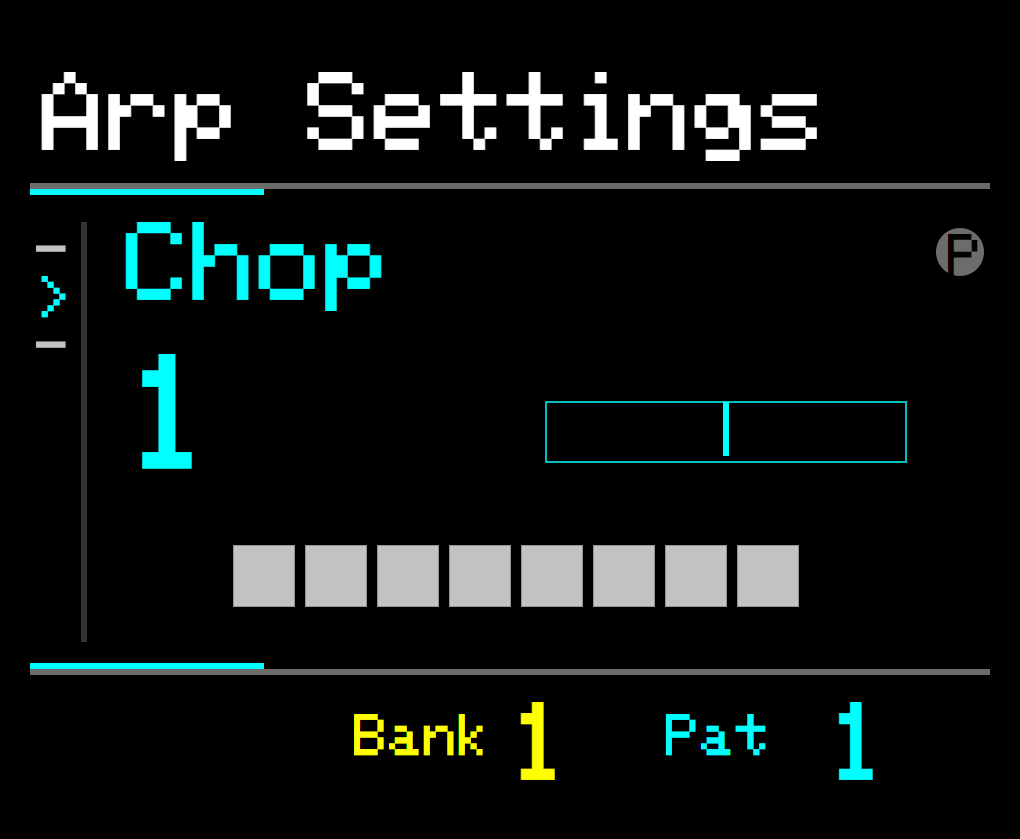 

Press the REPEAT button twice to access the Chop parameter.
Chop divides individual steps into 2, 3 or 4 duplicate notes and spaces them evenly across the time division.
It’s like increasing the Time Division for each step.
For example: Given a time division of 4/1 and this sequence:

Setting a Chop of 2 would create this sequence:

Note that length of the original note is maintained, as per the Gate parameter, so the duplicate notes have the same length.
e.g. Given this sequence:

A Chop of 3 would give this sequence:

(Note that if Voice Mode is set to MONO. only the last duplicate note will be the full gate length).
Unlike simply increasing the Time Division to create more notes, Chop enables note repeats to be generated.
When combined with FX, Modulation and Binary Patterns, very interesting musical sequences can be generated.
Ratchet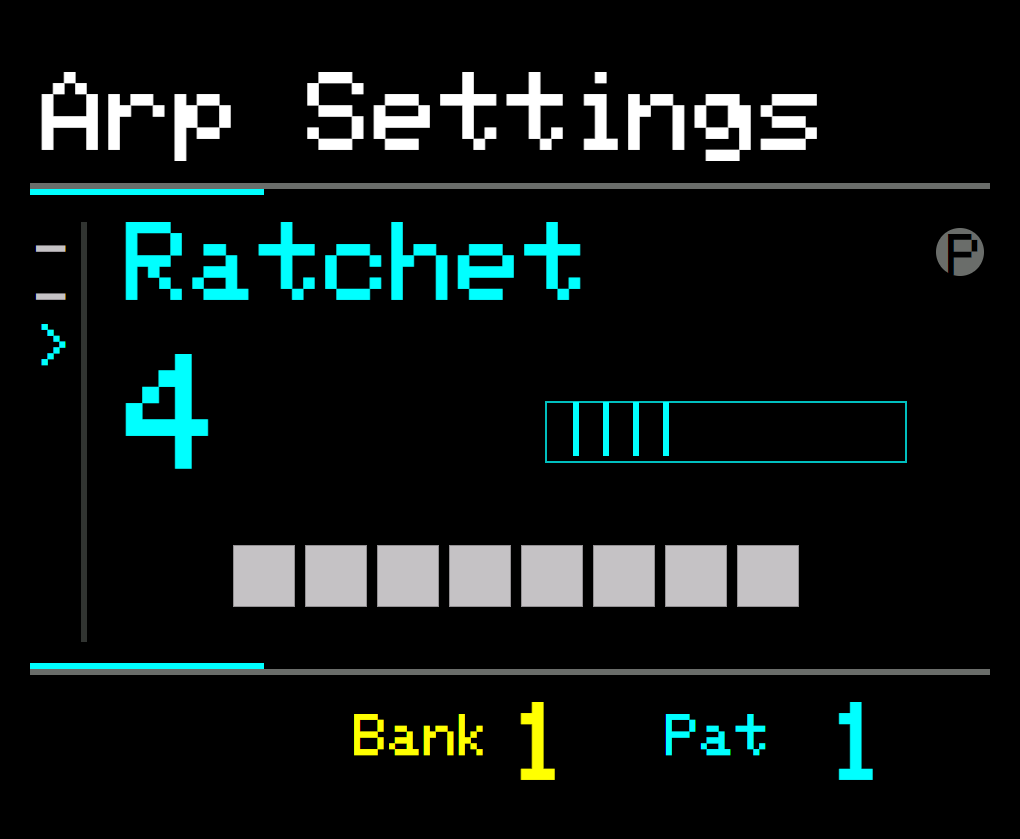 

Press the REPEAT button three times to access the Ratchet parameter.
Ratchet duplicates or retriggers individual notes, on each step, up to 8 times, adding a buzz or drill effect.
Given the following sequence (with a 3/1 Time Division) :

Adding 4 ratchets would produce this sequence:
 

Just like Chop, the Gate length is maintained for each new note.
-
If Voice Mode is set to MONO, only the last ratchet note will be the full gate length. The note is retriggered
-
If Voice Mode is set to POLY, all ratchet notes will be the full gate length. The note is duplicated.
Note. How Ratchets are interpreted as sound, depends on the connected Synthesizer. Some will simply retrigger, others will layer the note; possibly resulting in a volume increase.
Ratchet can be combined with FX, Modulation and Binary Patterns, to create highly interesting results.